Well, this feature redirects all your emails to a single email address. Therefore, this feature looks really promising, especially when you own more than one business. So, we are here with a guide in which we explain some steps that you need to follow to set up a forwarding email address in Gmail. Therefore, make sure to read it till the end. Also Read: How To Do Strikethrough Text in Gmail and Other Gmail Tricks
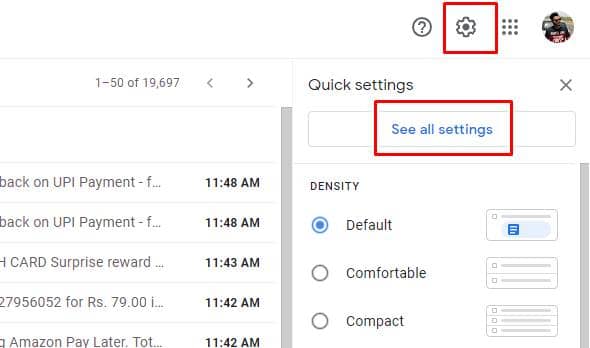
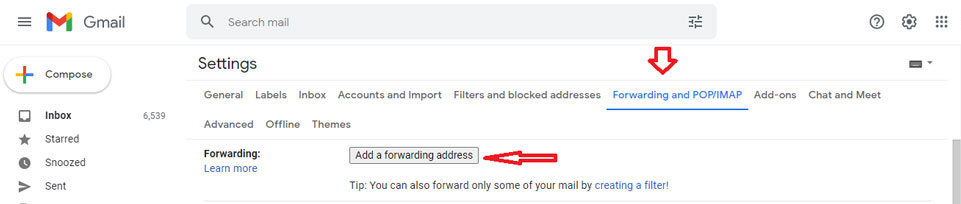
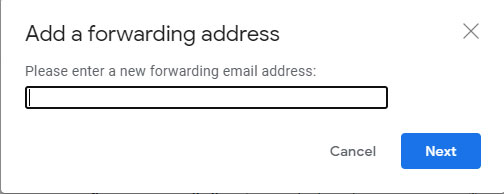
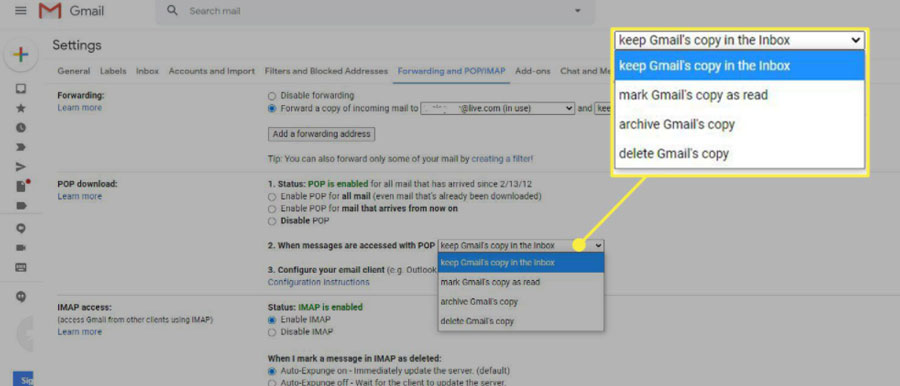
Steps to Set Up a Forwarding Email Address in Gmail
You need to follow a few simple and easy steps to enable the forwarding email address in Gmail. But, in the case due to any reason, you don’t want to use this feature anymore, then follow the same steps, but rather than enabling it, toggle the button to disable it. So, here are the precious steps that you need to follow: Note: Always keep in mind that you are only allowed to forward messages for a single Gmail address and not an email group. So, these are some easy steps that you need to follow. We hope you are now able to enable the Forwarding Email Address in Gmail. If you still find the steps mentioned above a bit complicated, feel free to contact us. Our team will surely help you do this.